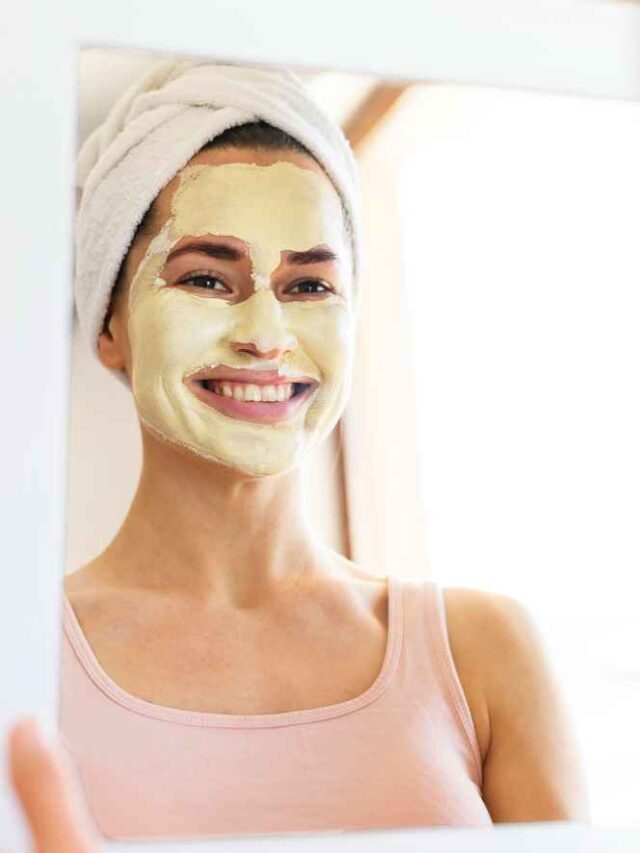
Welcome In today’s blog, we have an exciting 7-day skin care challenge for you to achieve clear and glowing skin. This challenge addresses a common issue that affects all skin types – tiny bumps that can appear on the forehead, cheeks, or anywhere on the face. Often confused with acne, these bumps, known as milia, can make the skin look dull and unhygienic. But fear not, as we have a three-step home remedy routine to help you get rid of these tiny bumps and achieve the smooth, clear skin you desire.
Step 1: Deep Cleansing for Tiny Bumps with DIY Powder Cleanser
Ingredients for Tiny Bumps
- Neem Powder:
- Properties: Antiseptic, antibacterial.
- Benefits: Keeps acne and pimple spots away, eliminates bacteria causing tiny bumps.
- Rose Petal Powder:
- Properties: Toning, exfoliating.
- Benefits: Naturally tones the skin, gently exfoliates, and removes dead skin cells.
- Multani Mitti (Fuller’s Earth):
- Properties: Oil-absorbing, sebum control.
- Benefits: Absorbs excess oil, prevents extra sebum production, and removes pimple spots and Tiny Bumps.
Preparation:
- Mixing the Powders:
- Take equal parts of neem powder, rose petal powder, and multani mitti.
- Adjust the quantity based on your requirement and store it in a jar for future use.
- Usage Instructions:
- For Normal to Oily Skin:
- Mix the powder with rose water.
- For Dry Skin:
- Mix the powder with milk.
- Create a paste and apply it to your face, giving extra attention to areas with tiny bumps.
- Massage the mixture onto your face for 5-10 minutes.
- For Normal to Oily Skin:
- Leave on and Rinse:
- Leave the cleanser on for an additional 10 minutes to allow the ingredients to work.
- Rinse your face thoroughly, and you’ll notice an immediate difference in your clogged pores.
- Frequency:
- Use this DIY powder cleanser daily for 7 days.
Tips:
- Store the powder in a sealed jar in your washroom for easy access.
- Ensure to customize the liquid (rose water or milk) based on your skin type.
- Pay extra attention to areas with prominent tiny bumps during the massage.
This deep cleansing routine aims to clear out clogged pores, reduce bacterial activity, and promote healthy, glowing skin. Stick to the regimen for the entire 7 days to maximize the results.
Step 2: Gentle Exfoliation with Homemade Scrub
Ingredients:
- Rice Flour:
- Properties: Exfoliating, skin rejuvenation.
- Benefits: Keeps the skin young, removes dead skin cells, and evens out the skin tone.
- Honey:
- Properties: Hydrating, pore-shrinking.
- Benefits: Provides excellent hydration, helps shrink pores, and maintains skin elasticity.
- Milk:
- Properties: Natural lightening.
- Benefits: Adds a natural glow to the skin, lightens dark spots, and enhances overall radiance.
Preparation:
- Mixing the Scrub:
- Combine equal parts of rice flour, honey, and milk.
- Adjust the quantities based on your preferences to achieve a thick yet spreadable consistency.
- Application:
- Apply the scrub evenly to your face, focusing on areas with blackheads, whiteheads, and tiny bumps.
- Gently massage the scrub in a circular motion for 5-7 minutes.
- Leave on and Rinse:
- Allow the scrub to sit on your face for an additional 2-3 minutes.
- Rinse your face thoroughly with water or wipe it off using a wet towel.
- Frequency:
- Use this gentle exfoliating scrub daily for the entire 7-day challenge. If you notice improvement, you can reduce the frequency.
Tips:
- Adjust Consistency:
- If the scrub is too thick, add a few drops of milk to achieve the desired consistency.
- Focus on Target Areas:
- Pay extra attention to areas with blackheads, whiteheads, and tiny bumps during the massage.
- Document Changes:
- Keep track of changes in your skin’s texture and appearance throughout the 7-day challenge.
- Gradual Reduction:
- If you experience relief from tiny bumps before completing the challenge, you can skip a day while maintaining the routine.
This homemade scrub aims to exfoliate the skin gently, removing impurities and promoting a radiant complexion. Stick to the daily routine for optimal results, and remember to share your progress after completing the 7-day challenge!
Step 3: Moisturize for Lasting Results
After completing the deep cleansing and exfoliation steps, the final and crucial step in our 7-day challenge is to properly moisturize your skin. This step is essential for maintaining hydration, preventing dryness, and ensuring a balanced complexion throughout the day. Tailor your moisturizer based on your specific skin type to achieve the best results.
Moisturizing Options:
- For Dry Skin: Aloe Vera Gel and Glycerin Mixture
-
Aloe Vera Gel
- Properties: Hydrating, soothing.
- Benefits: Provides intense hydration and soothes dry skin.
-
Glycerin:
- Properties: Moisturizing.
- Benefits: Adds an extra layer of moisture, preventing dryness.
- Preparation:
- Mix equal parts of aloe vera gel and glycerin to form a smooth blend.
- Application:
- Gently apply the mixture to your face, ensuring thorough coverage.
- Leave it on for the entire day to maintain hydration.
-
- For Oily Skin: Aloe Vera Gel
- Aloe Vera Gel:
- Properties: Hydrating without excess oiliness.
- Benefits: Provides moisture without clogging pores.
- Application:
- Apply aloe vera gel directly to your face, focusing on areas prone to oiliness.
- Leave it on for the day to keep your skin balanced.
- Aloe Vera Gel:
- For Normal to Combination Skin: Aloe Vera Gel with Glycerin
-
Aloe Vera Gel:
- Properties: Hydrating, soothing.
- Benefits: Maintains hydration and soothes the skin.
-
Glycerin:
- Properties: Balances moisture.
- Benefits: Prevents excessive dryness, ensuring a balanced complexion.
- Preparation:
- Mix half a spoon of glycerin with one spoon of aloe vera gel for a balanced blend.
- Application:
- Apply the mixture evenly to your face, targeting both dry and oily areas.
- Leave it on for the entire day to achieve a balanced and moisturized skin.
-
Tips:
- Moisturize immediately after completing the exfoliation step to lock in moisture.
- Adjust the moisturizer based on your skin type for optimal results.
- Consistent moisturizing ensures that your skin remains hydrated, leading to a healthy and balanced complexion.
Complete the 3-step regimen for 7 consecutive days, and share your results and experiences in the comments below. Embrace the journey to clear, glowing skin!
This deep cleansing routine aims to clear out clogged pores, reduce bacterial activity, and promote healthy, glowing skin. Stick to the regimen for the entire 7 days to maximize the results.
READ MORE

